YouTube · Amrita Shaw · 24 October 2026
Grow and care for tulsi, and propagate new plants
Learn how to grow new Tulsi (Holy Basil) plants from both cuttings and seeds, revive struggling plants, and maintain their health with specific care practices, including pruning, soil aeration, watering, light management, and natural fertilization methods.
Quick answer
Propagate tulsi from 4-6 inch stem cuttings rooted in water with aloe vera, or from mature seeds lightly covered with soil. Water your plant when the top inch of soil feels dry. For bushier growth, pinch off flower spikes weekly, and fertilize established plants with vermicompost every six months, or a homemade mix monthly during winter.
The idea
To maintain a healthy, bushy, and green tulsi plant, and to propagate new ones, follow these routine care and propagation steps. When a tulsi plant shows signs of decline, such as pest infestation, browning stems, or yellowing leaves, you can revive it by taking healthy cuttings and propagating them, or by starting fresh from seeds. This method allows you to create new, vigorous plants from the existing one or to expand your collection.
Propagation from cuttings
- *Assess your plant:
- Inspect your tulsi plant for signs of distress. If the plant is severely affected but has some healthy stems, proceed with propagation.
- *Take cuttings:
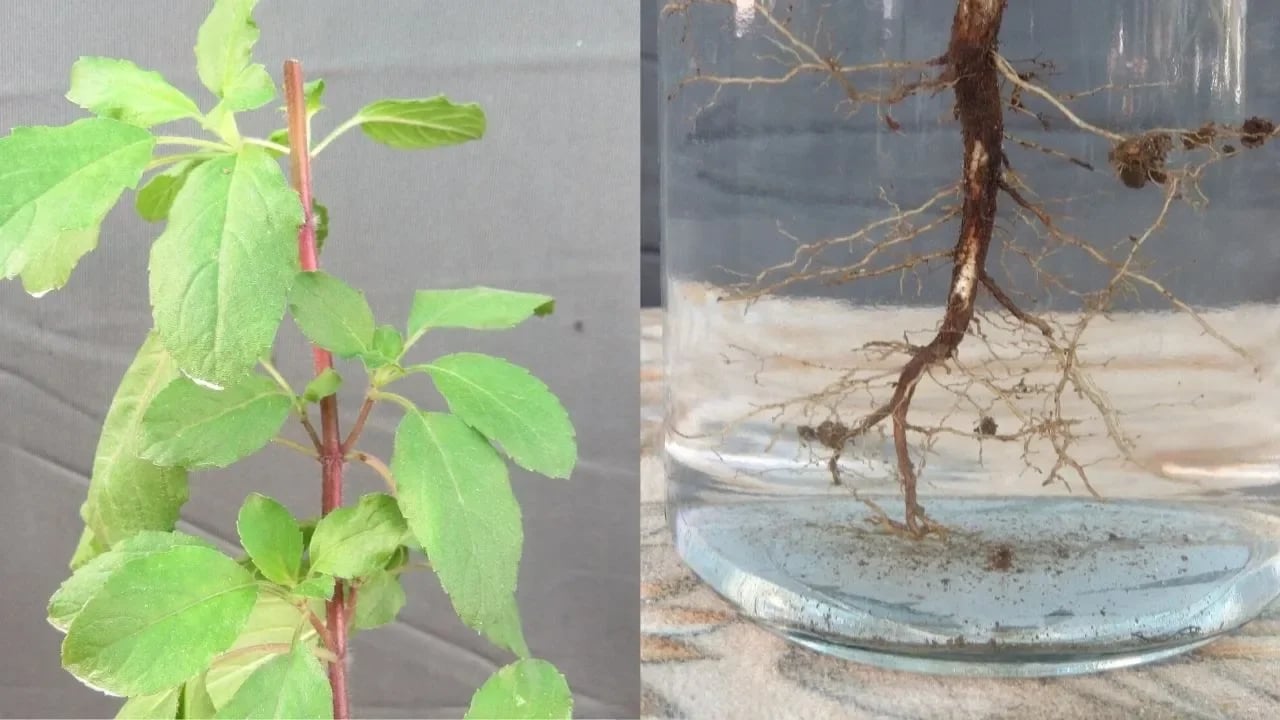
- Select healthy, non-flowering stems, about 4-6 inches long. Using clean scissors, cut just below a leaf node. Remove all leaves from the bottom 2-3 inches of each cutting.
- *Prepare with aloe vera (optional):
- Take a fresh aloe vera leaf and make a small hole in it. Insert the cut end of each tulsi stem into the hole, ensuring it's coated with the gel. Leave the cuttings in the aloe vera for 5-10 minutes.
- *Water propagation:
- Place the prepared cuttings into a glass or jar filled with clean water. Ensure that the leafless part of the stem is submerged, but no leaves are in the water. Place the container in a shaded area that receives indirect sunlight. Change the water every 2-3 days to prevent bacterial growth.
- *Monitor rooting:
- Within a few days to a week, you should observe small white roots emerging from the submerged stem. Allow the roots to grow to about 1-2 inches in length before transplanting.
- *Plant in soil:
- Prepare a small pot with well-draining soil. Make a small hole in the center. Carefully plant the rooted cutting, ensuring the delicate roots are not damaged. Gently firm the soil around the base of the plant.
- *Initial watering:
- Water the newly potted plant thoroughly until water drains from the bottom of the pot. For the first few days, keep the soil consistently moist but not waterlogged.
Propagation from seeds
- *Collect seeds:
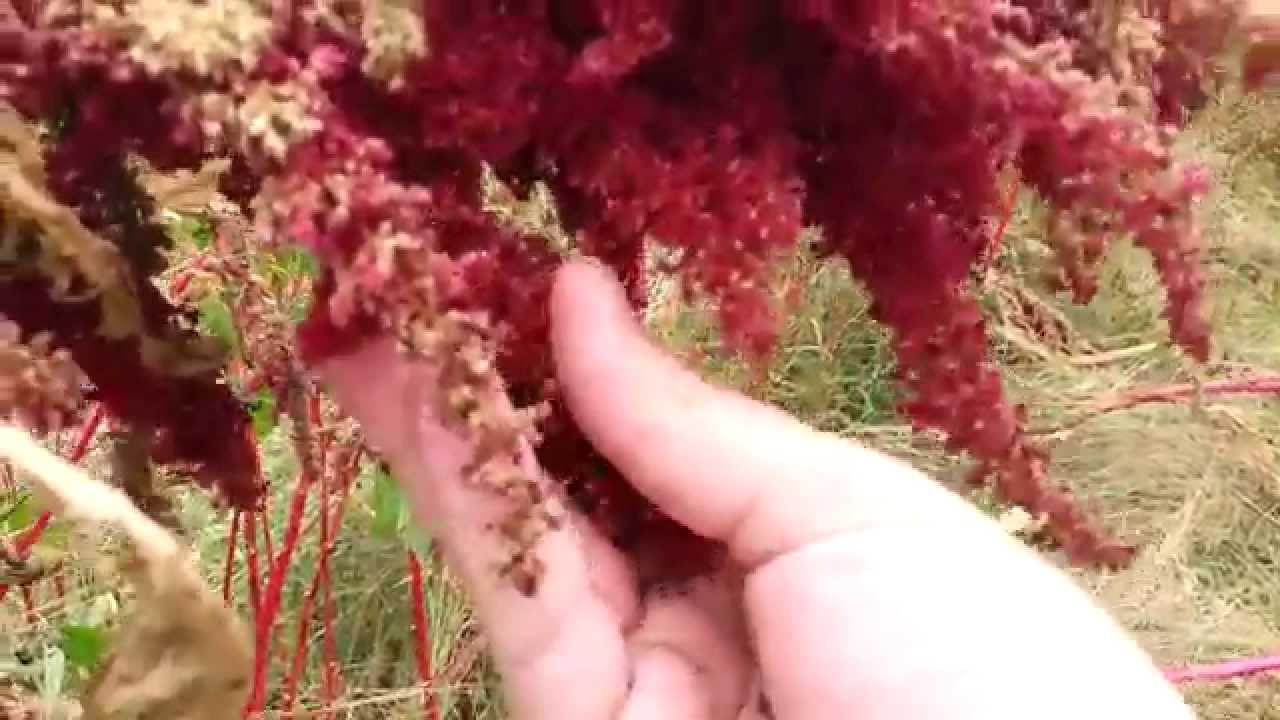
- Identify a healthy tulsi plant with dried, brown seed heads. Gently pluck these mature seed heads from the plant. Avoid green or pink seed heads, as they are immature.
- *Prepare seeds:
- Place the dried seed heads in your palm and gently rub them together to separate the tiny black seeds from the papery chaff.
- *Prepare soil:
- Choose a small pot or a section of a larger pot. Fill it with any garden soil. Using a small trowel or your fingers, loosen the top inch of the soil.
- *Sow seeds:
- Sprinkle the collected tulsi seeds evenly over the loosened soil. Lightly cover the seeds with a thin layer of soil (about 0.25 inches).
- *Water:
- Gently water the soil using a spray bottle or a watering can with a fine rose to avoid displacing the seeds.
- *Placement:
- Place the pot in a location that receives bright, indirect sunlight. Keep the soil consistently moist but not waterlogged.
Ongoing care for established plants
- *Pruning:
- Regularly pinch off the top flower spikes (manjari) as soon as you see them forming. This redirects the plant's energy from seed production to foliage growth.
- *Soil aeration:
- Periodically, gently loosen the top 1-2 inches of soil around the base of the plant using your fingers or a small trowel. This helps aerate the soil.
- *Watering:
- Check the soil moisture by touching it. Water your tulsi plant only when the topsoil feels dry to the touch. Avoid overwatering.
- *Light:
- Place your tulsi plant in a location that receives bright, indirect sunlight for most of the day, or direct morning sun for 4-6 hours. Protect it from harsh afternoon sun, especially in hot climates.
- Fertilization:
- *General:
- Once the plant is established (typically after 2-3 weeks for cuttings), you can apply natural fertilizer. Mix a small amount of neem cake and vermicompost into the topsoil around the plant. You can also sprinkle a pinch of turmeric powder around the base. Water well after fertilizing. For ongoing maintenance, apply a handful (about 1/2 cup for a medium pot) of vermicompost around the base of your plant every six months, lightly mixing it into the topsoil.
- *Winter boost:
- To support growth during winter, prepare a homemade fertilizer by combining 1 tablespoon each of mustard cake powder, coffee powder, tea powder, powdered eggshells, and powdered banana peels. Mix thoroughly. Apply 1 tablespoon of this mixture evenly around the base of the plant monthly during the winter season, after loosening the topsoil. Water thoroughly immediately after application.
Which plants this suits
- Tulsi (Holy Basil)
This guide is specifically for Tulsi plants and should not be applied to other plant species without verifying their specific needs.
Why it works
Tulsi plants can be susceptible to pests and environmental stress. Propagating from cuttings allows you to salvage healthy parts and start anew. Water propagation encourages root development, while aloe vera acts as a natural rooting hormone. Seed propagation uses viable seeds from mature heads, which germinate readily with adequate moisture and light soil cover.
Proper pruning, like pinching off flower spikes, redirects the plant's energy from seed production to vegetative growth, promoting more branches and a bushier appearance. Loosening the soil improves aeration for root health. Vermicompost, neem cake, and the homemade winter mix provide essential nutrients and beneficial microbes, supporting vigorous growth. Mustard cake, coffee, and tea provide nitrogen; eggshells offer calcium; and banana peels supply potassium, all crucial for plant health and resilience, especially in colder months. Correct watering prevents root rot, and moderate lighting ensures optimal photosynthesis without scorching.
Try it
- *This week (for propagation):
- If your tulsi plant is struggling, take 4-6 inch cuttings, remove bottom leaves, dip in aloe vera gel, and place in water in a shaded spot. Change water every 2-3 days. Alternatively, collect mature brown seeds, lightly cover them with 0.25 inches of soil in a pot, and water gently. Place in bright, indirect light.
- *Weekly (for established plants):
- Inspect your tulsi plant for any developing flower spikes (manjari). Pinch them off as soon as you see them forming at the top of the stems.
- *Every 2-3 weeks:
- Gently loosen the top 1-2 inches of soil around the plant with your fingers or a small hand fork to improve air circulation.
- *Daily check:
- Before watering, stick your finger about an inch into the soil. If it feels dry, water thoroughly until water drains from the bottom of the pot. If it's still moist, wait another day.
- *Every 6 months:
- Apply a handful (about 1/2 cup for a medium pot) of vermicompost around the base of your plant, lightly mixing it into the topsoil. Water well.
- *Monthly (during winter):
- Prepare the homemade fertilizer (1 tbsp each of mustard cake powder, coffee powder, tea powder, powdered eggshells, and powdered banana peels). Loosen topsoil, sprinkle 1 tablespoon of the mix around the base, and water thoroughly.
- *Placement:
- Ensure your tulsi plant is in a spot that receives bright, indirect sunlight for most of the day, or direct morning sun for 4-6 hours. Protect it from harsh afternoon sun, especially during summer in hot, tropical climates like India.
- *Watch for:
- For cuttings, expect roots in a few days to a week. For seeds, tiny seedlings should emerge in 6-8 days. For established plants, observe new leaf growth, increased branching, and overall vibrant green foliage over the next few weeks. If leaves start yellowing or dropping, reassess your watering and light conditions.
Watch out for
- *Overwatering:
- This is a common mistake, especially with newly planted cuttings or seedlings, and can lead to root rot. Always check soil moisture before watering and ensure pots have good drainage.
- *Direct sun exposure:
- Young cuttings, seedlings, and even established plants are sensitive to harsh, direct afternoon sunlight, which can cause scorching. Provide them with indirect light or morning sun.
- *Over-fertilization:
- While beneficial, using too much fertilizer, especially chemical ones, can burn the roots. Stick to recommended organic quantities and avoid heavy fertilization during peak summer months when growth might slow.
- *Not removing seeds:
- Allowing the plant to produce seeds diverts energy from leaf production, making the plant less bushy and potentially shortening its lifespan. Regularly pinch off flower stalks.